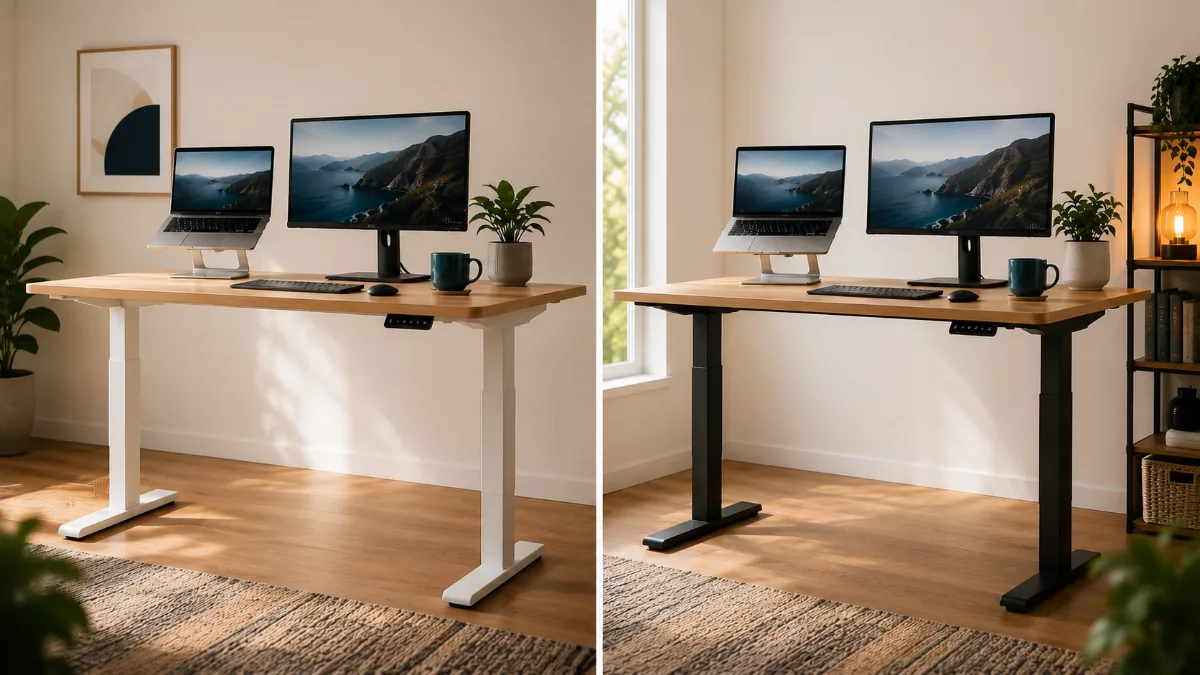
Laptop stand height is the part everyone gets vaguely right and specifically wrong. The advice is always “eye level,” but nobody turns that into inches. This guide shows you how to measure the laptop stand height you actually need in about three minutes, then match it to a stand. If you only want a shortlist, start with our best laptop stands roundup.
Everyone says to put your laptop screen “at eye level.” Almost nobody turns that into inches, because the honest answer depends on your body, your desk and your laptop, not on the stand. So instead of a magic number, here is a three-minute measurement that tells you how much lift you need, and which kind of stand actually covers it.
One note on where this comes from: I have not owned any of the stands mentioned below, and nobody on this site claims to. The height guidance comes from published ergonomics sources (UCLA’s ergonomics program and one small posture study), and the stand specs come from the current product listings.
The short answer
Sit upright, then raise the laptop until the top edge of the screen is at eye level or just below it. UCLA Ergonomics gives the rule as the top of the screen at eye level, and a university buying guide I read says at or slightly below. Same zone either way. Start at eye level, and drop a little if looking straight ahead feels like staring upward. Then add a separate keyboard and mouse, because a raised laptop puts its own keyboard in the wrong place.
Why “eye level” never turns into a number
Three things change the answer, and a stand listing can only tell you about one of them:
- Your seated eye height. A 5’3″ person and a 6’2″ person do not have their eyes at the same height above the same desk.
- Your laptop. A 13-inch ultrabook and a 16-inch laptop have different screen heights, so the same stand lifts the top edge to different places.
- Your desk and chair. Swap a fixed-height desk for a standing desk, or raise your chair a notch, and last month’s perfect height is now wrong.
That is why “buy a 6-inch stand” is bad advice. It is right for some people by accident and wrong for the rest.
The three-minute measurement
- Sit the way you actually sit. Feet flat, back against the chair, the posture you hold at 3 p.m., not the one you adopt for a photo.
- Measure your eye height above the desk. From the desktop surface up to the corner of your eye. Easiest with a second person, or hold a phone level at eye height and measure from the desktop to the phone.
- Measure your screen’s top edge. Open the laptop on the desk the way you normally do and measure from the desktop to the top of the screen.
- Subtract. Eye height minus screen-top height is the lift you need, give or take a little for tilt.
Worked example (made-up numbers, measure your own)
- ✅ Eyes sit 19 inches above the desk, top of the open laptop screen sits 9 inches above it → you need about 10 inches of lift
- ❌ Stand that tops out at 6 inches → you are still looking down for the other 4
You can run this test for free before buying anything. UCLA’s guidance lists books or a sturdy box as a way to raise the screen, so stack something until the top edge hits your eye zone, then measure the stack. That stack is your target number. Take it to the stand listings.
What the lift ranges in the listings mean
Stand listings give a lift range, and the range matters more than the maximum. A stand that only does one height is a bet that your chair, desk and posture never change. An adjustable one lets you re-tune it after you do. Here is how three common stands line up, using the lift figures from their listings:
| Stand | Lift (listing) | Adjustable? | Fits when your gap is… | Get it |
|---|---|---|---|---|
| Roost V3 | 6.5–12.5 in | Yes | Mid to large, e.g. taller sitters or higher desks | Check on Amazon → |
| Nulaxy C1 | 3–10 in | Yes | Small to about 10 in, with room to fine-tune | See it → |
| Rain Design mStand | 5.9 in | No, one height | Close to 6 in, and your setup never changes | View → |
Read that table against your own number. If your gap is around 10 inches, the Nulaxy C1 is right at the edge of its listed range, so the Roost’s extra headroom is the safer match. If your gap is closer to 6 and you have one fixed desk and chair, the single-height mStand covers it without any adjusting to do. If you are somewhere in between, or you ever switch between sitting and standing, adjustable wins.
Roost V3 Laptop Stand
The listing gives it the highest lift of the three, which matters most if your measurement came out large. It is also the one to look at if you travel, since it folds down small.
Check Price on Amazon →The catch: you need a separate keyboard and mouse
Raise the screen to eye level and the built-in keyboard and trackpad end up too high for your arms. UCLA’s guidance says to use an external keyboard and mouse once the screen is at the right height, and the university buying guide I read goes further and treats them as required with a stand.
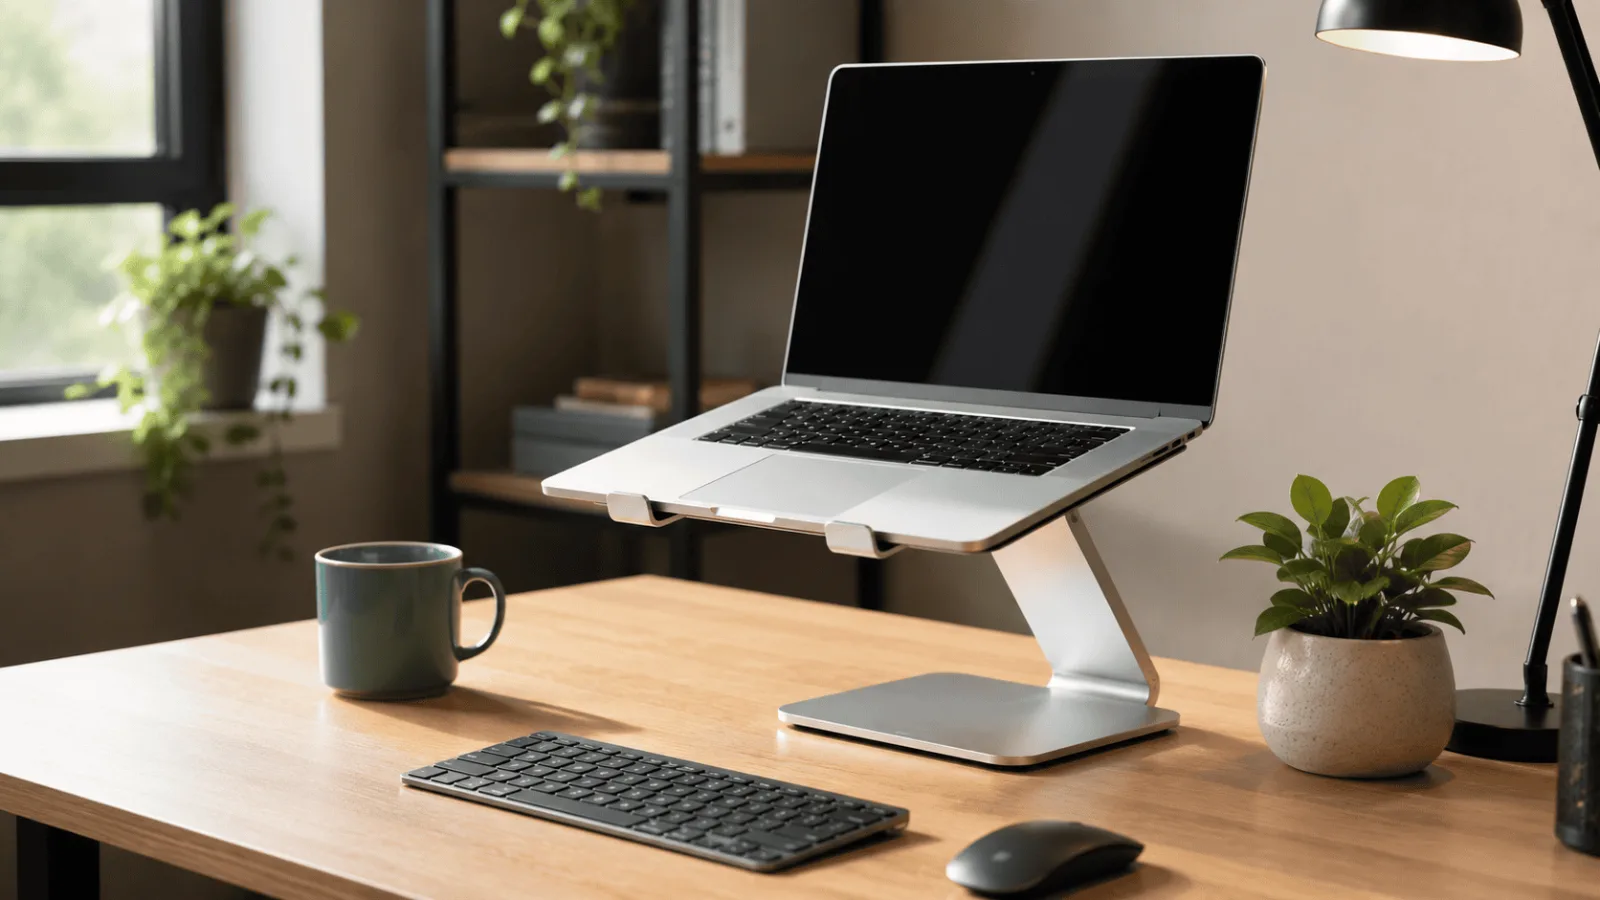
There is a small study that shows why the stand still matters even when you already use an external keyboard. Researchers had 25 office workers type for two hours under three conditions, and in the “no stand” condition the laptop sat flat with an external keyboard attached. The posture score (RULA) was 2 with their prototype adjustable stand versus 5 with the laptop flat, and reported neck discomfort averaged 2.72 versus 4.92 on a 0-to-10 scale. Typing speed did not differ significantly.
Treat that with care. It was a prototype stand rather than a product you can buy, the sample was small, discomfort was self-reported, and it tested one task. It points the same direction as the ergonomics guidance, which is useful, but it is not proof of a specific number of inches.
Already sorted on the keyboard side and just need the stand? This one has the widest adjustment span of the three, 3 to 10 inches on its listing.
See Current Price →Common ways people get the height wrong
- Going too high. More lift is not better. If you are tilting your head back to see the top of the screen, you have swapped one neck problem for another.
- Raising the screen but not the input devices. Shoulders creep up and wrists bend. The fix is the separate keyboard and mouse, not a different stand.
- Never re-measuring. New chair, new desk, a switch to a standing desk: all of them change your eye height above the work surface. Re-run the three minutes.
- Ignoring stability. The buying guide I read asks for rigid construction, non-slip feet and a weight rating at least 20% above your laptop’s weight. A stand that sways while you type ruins the height you worked out.
- Blocking the vents. Open-frame or ventilated stands let air move. A solid platform can trap heat.
Which stand type for which situation
- ✅ One fixed desk and chair, gap near 6 inches → a single-height stand like the Rain Design mStand
- ✅ Gap changes, or you sit and stand → an adjustable stand, see our best laptop stand for neck pain
- ✅ You carry the stand between home and office → start with our travel laptop stand picks
- ❌ You mostly work on an external monitor, not the laptop screen → skip the stand and read laptop stand vs monitor arm
If your measurement is on the large side, this is the stand whose listed range reaches highest.
View on Amazon →Frequently asked questions
Measure first, buy second
Do the three-minute measurement before you add anything to a cart. If your number lands at 10 inches or under and you want room to adjust, the Nulaxy C1 is the straightforward match on paper. If it lands higher, look at the Roost V3.
View the Nulaxy C1 on Amazon →Want to compare more options first? Our best laptop stands roundup has four.
Quick Takeaways
- Top of the screen at eye level or slightly below, sitting upright.
- Your lift in inches is eye height above the desk minus your screen’s top edge height.
- Test the number with a stack of books before you buy.
- Pick an adjustable stand unless your desk and chair never change.
- Add a separate keyboard and mouse, and re-measure when your setup changes.
Once you know your laptop stand height, shopping stops being a guess. The right laptop stand height is whatever your measurement says: pick a stand whose range covers it, add a separate keyboard and mouse, and re-measure when your chair or desk changes. For a neck-first shortlist, see our best laptop stand for neck pain, and if you are weighing a stand against a monitor arm, read laptop stand vs monitor arm.