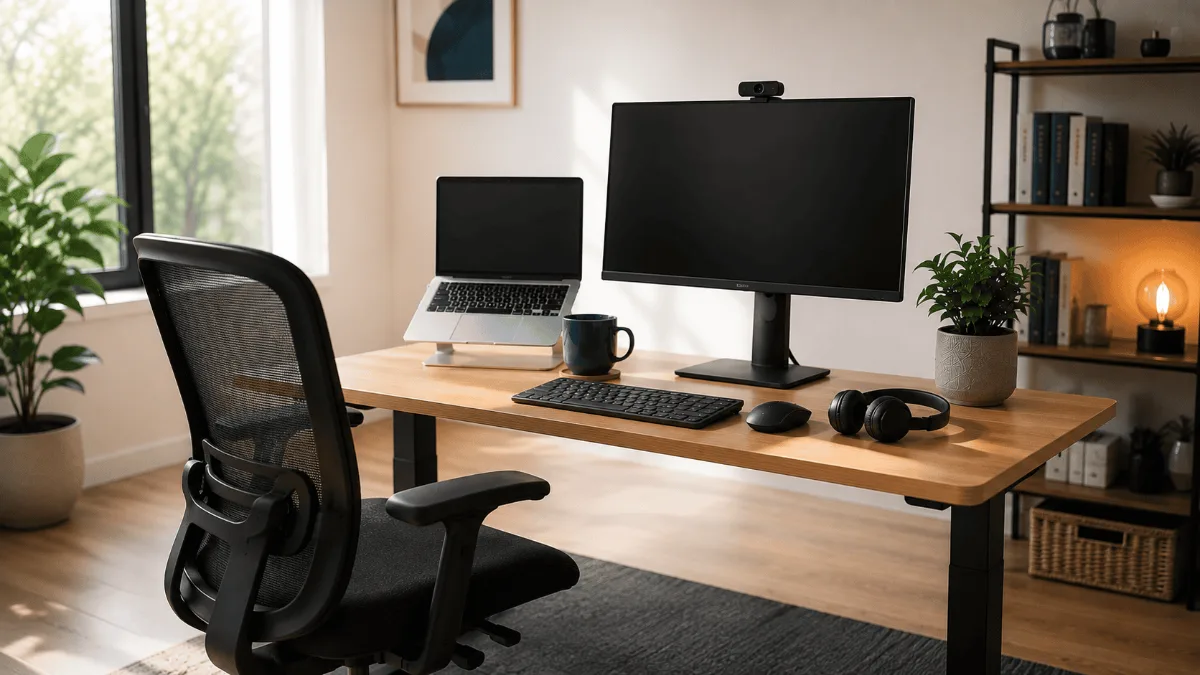
A home office setup under $500 is not a compromise. It is a sequencing problem. The people who end up unhappy at this budget almost always spent it in the wrong order — the desk first, because a desk feels like the thing an office is, and then whatever was left on the parts that actually decide how their back feels at 4pm.
Flip the order and the same money produces a workspace that holds up. This guide is the order, not a shopping list you copy blindly. I have kept every recommendation to something the review corpus actually supports, and I have been explicit about what you should not buy at this budget — because at this number, the things you skip matter as much as the things you buy.
The rule this whole guide runs on
Spend in proportion to hours of contact. → You touch the chair for every minute you work. You touch the desk surface almost never. Yet most first builds invert that, and it is why the second purchase in a budget home office is so often a better chair.
Priority 1: the chair, and it is not close
The chair is the single largest line in a sensible build at this budget, and it should be. Everything else in a home office is a surface or a screen — the chair is the only thing supporting a body for eight hours.
The pattern that runs through budget chair reviews is consistent: the failures are not comfort on day one, they are comfort at month six. Foam that flattens, tilt mechanisms that start squeaking, armrests that will not hold a height. Those are the complaints worth reading before you buy, and they are the reason the very cheapest tier is a false economy — you buy twice.
What to insist on even at the entry tier: adjustable lumbar rather than a fixed bump, seat height that puts your feet flat on the floor with thighs parallel to it, and armrests that let your elbows sit close to your body with your shoulders relaxed. That last one is straight out of Mayo Clinic’s workstation guidance and it is the adjustment most budget chairs quietly omit.
Hbada Ergonomic Chair Compact footprint and flip-up arms — the bedroom-office pick →If you want the full field rather than one pick, the chairs under $200 guide is where the comparison lives, and the hours question is worth reading first if you are not sure the chair deserves this much of the budget.
Priority 2: screen height — the cheapest large improvement you can buy
This is the step people skip, and it is the one with the best return per unit of money in the entire build.
OSHA’s workstation guidance is specific about where a screen belongs: 20 to 40 inches from your eyes, top of the monitor at or slightly below eye level, and the centre of the screen 15 to 20 degrees below horizontal eye level. Tilt it no more than 10 to 20 degrees, and keep it within 35 degrees left or right of straight ahead.
A laptop on a desk fails every one of those. The screen sits somewhere around navel-to-chest height, which forces your neck into flexion for the whole working day. No chair fixes that, because the problem is above your shoulders.
There are two ways out, and at this budget you pick one:
Raise the laptop with a stand and add an external keyboard and mouse. This is the cheap route and it is genuinely effective — it converts the laptop screen into a properly positioned display for a small fraction of the budget.
Add an external monitor and let the laptop sit beside it as a secondary. Better long term, meaningfully more of the budget, and it only makes sense if the chair is already sorted.
Nulaxy C1 Laptop Stand The cheapest fix for a screen that sits too low →A laptop stand only works if you add a separate keyboard — raising the screen while still typing on the built-in keyboard trades a neck problem for a shoulder one. Budget for both or do neither. If you are weighing a stand against a full monitor arm, that comparison is its own guide, and the monitor picks live here if you go the external-screen route.
Priority 3: the desk, later than you think
Two honest branches at this budget.
You already have a table. Keep it. OSHA asks for 20 to 28 inches of clear knee space under the work surface — measure yours. If it clears, the money is better spent elsewhere, and you can add a converter later when the budget refreshes.
You need the desk too. Then a budget electric sit-stand is the one to look at, and you accept that it takes a large share of the remaining money. The complaints in this tier cluster around lateral sway at full height and multi-piece tops that arrive misaligned — both worth knowing before you buy.
Fezibo Electric Standing Desk The budget sit-stand tier, if the desk has to come out of this build →Worth reading before you commit either way: standing desk vs converter covers when the cheaper route is the smarter one, and the desks under $300 guide is the field at this tier.
Priority 4: how you show up on calls
This is the part of a hybrid setup other people actually experience. Your chair is for you. Your webcam and your microphone are for everyone you work with, and they form the impression of you that gets carried into rooms you are not in.
The order here is not obvious: audio first, video second. People forgive a soft-focus picture and they do not forgive having to ask you to repeat yourself. A headset with decent mics beats a better camera every time on this budget.
The webcam still earns its place, because a laptop camera is aimed up at you from below and lit from behind by your own screen. Almost any external camera at eye level is a step change, and that is a small share of the budget.
Soundcore Space One Noise cancelling and LDAC without the flagship share of the budget → Logitech C920x HD Pro The webcam most hybrid workers should start with →Priority 5: the last slice
Whatever remains goes to the two things that make the desk feel finished rather than assembled: a desk pad and cable management. Neither changes how you work. Both change whether you want to sit down at it, which turns out to matter more than it sounds.
Ktrio Extended Desk Pad The cheap upgrade that changes how the desk reads →What to skip at this budget
Not now — and the reason why
- ❌ A Thunderbolt dock → a plain hub does the job until you run two screens
- ❌ A dedicated USB microphone → a headset’s mics are enough until people stop hearing you well
- ❌ A monitor arm → the stand that came with the monitor is fine at one screen
- ❌ Smart lighting → real, cheap, and last in line behind everything above
- ❌ The cheapest possible chair → the one thing where buying down means buying twice
The build, assembled
| Role in the build | Buy order | Why it sits here | Get It |
|---|---|---|---|
| Hbada Ergonomic Chair | First | Eight hours of body contact; the only part nothing else compensates for | Check → |
| Nulaxy C1 Laptop Stand | Second | Gets the screen to eye level for a fraction of a monitor | Check → |
| Fezibo Electric Standing Desk | Third, if needed | Only if you do not already have a table with proper knee clearance | Check → |
| Soundcore Space One | Fourth | Audio before video — cutting the noise around you outranks looking sharp | Check → |
| Logitech C920x Webcam | Fifth | Camera at eye level instead of aimed up from the keyboard | Check → |
| Ktrio Extended Desk Pad | Last | Whatever is left; makes the desk feel finished | Check → |
The chair
Everything else in a home office setup under $500 can be improvised, borrowed or deferred a month. A stack of books raises a laptop. A dining table is a desk. Earbuds get you through a call. None of that is true of the chair — there is no free substitute for eight hours of lumbar support, and the review pattern in the budget tier is that people who buy down here buy again within the year. Start there and let the rest of the build fill in behind it.
See the Hbada on Amazon →Frequently Asked Questions
Quick Takeaways
- Sequence beats selection. The same money spent in the right order produces a much better desk.
- Spend in proportion to hours of contact — which puts the chair first and the desk surface near the bottom.
- OSHA wants the screen 20 to 40 inches away, top at or just below eye level, centre 15 to 20 degrees below horizontal.
- A laptop stand is only an upgrade if you add an external keyboard with it.
- Audio before video. Being heard clearly matters more than looking sharp.
- The cheapest chair tier is the one place where buying down means buying twice.
Hbada Ergonomic Chair is where most readers here begin the build. Stock and colour options shift often, so it is worth checking what it is going for right now.
Check Availability →Not sure what to buy first? We broke down how to sequence a smart home office setup — which upgrade fixes the biggest daily problem, and the one most people buy far too early.